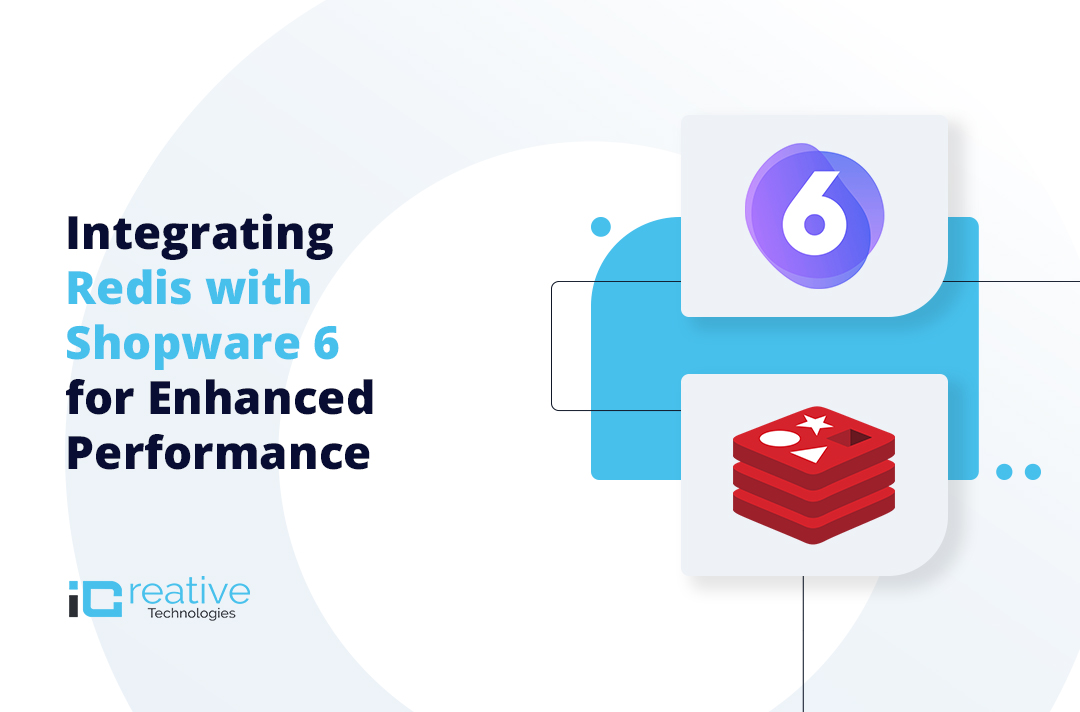
Speed and performance are crucial for any eCommerce store, and caching plays a significant role in optimizing site responsiveness. Redis, an in-memory data store, offers high performance and is widely used in Shopware 6 for caching, session management, and database optimization. This guide covers Redis integration in Shopware 6, best practices for configuration, and how to leverage multiple Redis instances for different types of data.
Why Use Redis in Shopware 6?
Shopware 6 supports Redis as a caching backend, offering several advantages over traditional database queries:
- Faster Load Times – Reduces database queries by storing frequently accessed data in memory.
- Better Scalability – Handles high traffic and large-scale eCommerce stores efficiently.
- Optimized Session Handling – Speeds up user authentication and cart management.
- Efficient Queue Management – Enhances background task execution using Shopware Message Queue.
Shopware allows multiple Redis adapters to offload tasks from the database, improving overall performance.
Types of Data Stored in Redis
Redis is used to store different types of data, categorized into three classes:
1. Ephemeral Data (Cache)
- Temporary data that can be easily recreated if lost (e.g., HTTP cache, object cache).
- High-speed access is prioritized, persistence is not required.
- Recommended Eviction Policy: volatile-lru (removes expired items).
2. Durable, but Aging Data (Sessions)
- Important data that should persist even after a Redis restart (e.g., user sessions).
- Storage should include disk persistence using RDB (snapshot) or AOF (Append Only Files).
- Recommended Eviction Policy: allkeys-lru (discards the oldest data when max memory is reached).
3. Durable and Critical Data (Carts, Number Ranges)
- Data that must not be lost (e.g., carts, lock stores, incremental data).
- Persistence is required; data should never be deleted unless expired.
- Recommended Eviction Policy: volatile-lru (only removes expired data).
Step-by-Step Guide to Integrating Redis in Shopware 6
Step 1: Install Redis on Your Server
Ensure Redis is installed on your Shopware server. If not, install it using:
bash
CopyEdit
					sudo apt update
sudo apt install redis-server
Start and enable Redis:
bash
CopyEdit
					sudo systemctl start redis
sudo systemctl enable redis
Verify installation:
bash
CopyEdit
redis-cli ping
If Redis is running, it should return PONG.
Step 2: Configure Redis in Shopware 6
Edit the .env file to enable Redis for caching:
ini
CopyEdit
					REDIS_HOST=127.0.0.1
REDIS_PORT=6379
SHOPWARE_HTTP_CACHE_ENABLED=1
SHOPWARE_HTTP_DEFAULT_TTL=7200
For external Redis servers, update REDIS_HOST with the appropriate IP.
Step 3: Enable Redis for Caching
Modify config/packages/shopware.yaml to set Redis as the cache handler:
yaml
CopyEdit
					shopware:
     cache:
          enabled: true
          type: redis
          redis:
               host: 'redis://127.0.0.1:6379'
Step 4: Use Redis for Session Storage (Optional)
To store user sessions in Redis, update .env:
ini
CopyEdit
SHOPWARE_SESSION_STORAGE="redis"
This improves session management and speeds up user logins.
Step 5: Use Separate Redis Instances for Different Data Types
Starting from Shopware v6.6.8.0, multiple Redis connections can be configured to optimize different workloads.
Edit config/packages/shopware.yaml:
yaml
CopyEdit
shopware:
     redis:
           connections:
                cache:
                    dsn: 'redis://127.0.0.1:6379/0' # Ephemeral cache
                session:
                    dsn: 'redis://127.0.0.1:6379/1' # User session data
                critical:
                    dsn: 'redis://127.0.0.1:6379/2' # Cart & number ranges
Step 6: Use Connection Pooling for High Traffic
To reduce the overhead of establishing new connections for each request, enable persistent connections:
yaml
CopyEdit
					shopware:
     redis:
           connections:
                cache:
                     dsn: 'redis://127.0.0.1:6379/0?persistent=1'
Step 7: Clear and Warm Up Cache
After configuring Redis, refresh the cache using:
bash
CopyEdit
bin/console cache:clear
bin/console cache:warmup

redis-cli monitor
Check if Redis is being used:
bash
CopyEdit
redis-cli monitor
Step 8: Restart Services
Restart both Shopware and Redis:
bash
CopyEdit
					sudo systemctl restart redis
bin/console cache:clear
Verifying Redis Integration
To confirm Redis is caching data, run:
bash
CopyEdit
					redis-cli
KEYS *
You should see multiple cached keys from Shopware.
Conclusion
Integrating Redis in Shopware 6 significantly enhances performance by reducing database load and improving caching efficiency. By following this guide, you can optimize your Shopware store’s speed and scalability, ensuring a seamless experience for users.
For expert Shopware 6 development and optimizations, reach out to iCreativeTechnologies!

Bhavya Shah
Bhavya Shah is a Business Analyst at iCreative Technologies. He specializes in the eCommerce consulting for all business domains. He is working hand-in-hand with developers and clients to produce requirements and specifications that accurately reflect business needs and are technologically achievable.